Last updated November 18, 2026
Home Addition Contractor Troubleshooting: Common Problems and How to Fix Them
The most expensive home addition mistake in Spring Valley isn’t a botched finish. It’s a foundation poured without a proper soils test on caliche-heavy lots, a defect that can cost $30,000 – $60,000 to remediate after the fact. Caliche is that hard, calcium-cemented layer in much of the desert soil around Spring Valley, and it doesn’t drain or compact the way standard soil does. Pour on top of it without testing and you inherit movement, cracking, and a rebuild bill years later. Most homeowners don’t catch it because the signals show up quietly: a hairline crack here, a sticky door there. This guide teaches you to read those early signals, understand what they mean, and fix the cheap problem before it becomes the expensive one. We’ll walk through the three moments where additions usually go wrong – design, permit submittal, and the foundation pour – plus the inspection, HVAC, moisture, and documentation problems that follow.
Quick Answer
Most home addition problems trace back to the design phase, the permit submittal, or the foundation pour – and the fix gets about three times more expensive once the work is covered up. A cosmetic wall crack can be patched for a few hundred dollars, while a structural tie-in failure at the same seam can run $10,000 – $40,000 because you’re opening walls and reconnecting old framing to new. Your job is to catch the signal early: inspect before drywall, insist on a soils report, and document everything in writing.
Table of Contents
- Is That Wall Crack Cosmetic or Structural? How to Tell
- Foundation Problems on Spring Valley’s Caliche Lots
- What to Do When Your Addition Fails a Clark County Inspection
- HVAC Sizing Problems in Additions
- The Old-Meets-New Seam: Where Moisture Gets In
- How to Document a Contractor Dispute So It Holds Up
- Design and Permit Problems You Can Prevent
- What These Fixes Actually Cost
Is That Wall Crack Cosmetic or Structural? How to Tell
Whether a wall crack in a new addition is cosmetic or structural comes down to three things: the crack’s width, its direction, and where it sits relative to the seam between old and new construction. Cosmetic settling cracks are typically hairline, under 1/16 inch wide, and show up in drywall or paint without moving the wall itself. Structural tie-in cracks are wider, they run diagonally from corners, and they appear on the new construction side of the seam where the addition connects to the original house.
The old-meets-new seam is the trouble spot in Spring Valley additions. The existing house has already finished settling; the addition is still moving. If the two structures aren’t tied together with proper anchors and framing hardware, the seam opens and cracks travel through it. Stucco and drywall over that joint will always show something, but a crack that grows over a few weeks or lets daylight through is structural, not cosmetic.
Here’s the quick test:
- Under 1/16 inch, vertical, in drywall only: almost always cosmetic settling. Monitor it for 60 days.
- Wider than 1/8 inch, or growing: needs a structural evaluation before you cover it with anything.
- Diagonal, from a corner or window: likely a tie-in or foundation issue.
- Daylight or air visible through the gap: stop and call a professional.
Cracks in stucco over a foam or framed wall are cheaper to assess than cracks in a masonry wall, but neither should be patched and painted without understanding why they formed. If you’re planning an addition and want the structural side handled correctly from the start, our Home Addition Contractor in Spring Valley team inspects the tie-in before drywall goes up.
Foundation Problems on Spring Valley’s Caliche Lots
Caliche is a naturally cemented soil layer common on the west and southwest edges of the Las Vegas Valley, and it creates a specific foundation risk for Spring Valley additions. Caliche can look solid to the eye – which is exactly the trap. Contractors who skip a geotechnical soils report and pour footings directly on it often end up with uneven settlement once the material is disturbed by grading and moisture. The remediation range we cited at the top, $30,000 – $60,000, covers excavation, re-engineered footings, and re-pour for a footing that failed this way.
The prevention is a soils report before footings, not after. A geotechnical engineer takes borings across the footprint, tests for caliche content and expansive clay, and tells the structural engineer what the footings need to bear on. On a flat or slightly sloped lot, that report typically adds a small slice to the project budget. On a lot where caliche is thick, it can change the footing design entirely, which is exactly what you want to happen on paper rather than in year two.
Signs a Spring Valley foundation is in trouble after the pour:
- New doors and windows that stick or won’t latch within the first year.
- Floors that feel uneven or sound hollow underfoot near an exterior wall.
- Hairline cracks appearing along the footing-to-stem-wall line.
- Water pooling against the addition after a monsoon storm because grading wasn’t adjusted.
Summer heat and monsoon cycles move desert soil, which is why pre-fab panel systems from brands like Mighty Buildings and Plant Prefab often help here: a factory-built foundation connection is engineered and repeated, so it doesn’t depend on one crew interpreting a plan on a hot afternoon. Our ADU Builders in Spring Valley team walks you through panel systems versus site-built footings before you commit.
What to Do When Your Addition Fails a Clark County Inspection
When your addition fails a Clark County framing or rough-in inspection, the first step is to get the correction report in writing from the inspector and read it line by line with your contractor before anyone touches the work. The report names the code section and the specific deficiency. It is not a suggestion; it is the list you work from, and a re-inspection costs time and, on some projects, a fee. The worst move is to let a contractor argue with the inspector verbally and then “fix it” without addressing what the report actually says.
Here’s the sequence that protects you:
- Get the correction list in writing. Ask the contractor to photograph the flagged areas and send you the report copy.
- Hold a same-week walkthrough. You or a representative should physically stand at each flagged item with the contractor so the fix is agreed, not assumed.
- Get the correction plan in writing. What changes, who does it, and the re-inspection date.
- Don’t pay the next draw until re-inspection passes. This is the single most effective lever you have.
- Keep the correction report and the passing re-inspection in your project file. Both protect you when you sell the home.
Common Clark County framing and rough-in failures on additions include missing or spaced-out hurricane ties, incorrect nail patterns at shear walls, and plumbing or electrical rough-in that wasn’t inspected before the wall was closed. If a contractor refuses to put a correction plan in writing, that’s your signal to escalate – and it’s exactly the pattern The Relay Visibility Guarantee is built to prevent, with a written price and a written guarantee on every project before the first shovel turns.
HVAC Sizing Problems in Additions
Your existing HVAC system almost always needs to be recalculated when you add square footage, and here’s why that matters: an undersized system runs constantly and never quite catches up, while an oversized one short-cycles, drives humidity up, and burns out the compressor early. Neither is obvious on day one. In Spring Valley, where summer design temperatures push past 105°F and the system runs hard for months, a miscalculated load shows up fast in the form of a bedroom that never cools below 80°F.
The fix starts with a manual J load calculation, a room-by-room heat-loss and heat-gain calculation that sizes the equipment to the actual envelope of the addition. Skipping it is one of the most common additions mistakes our technicians run into. A contractor who eyeballs “a two-ton should do it” is guessing. The load calc accounts for window orientation (east and west exposures get brutal desert sun), insulation, airtightness, and how the addition shares walls and air with the original house.
What good HVAC integration looks like on an addition:
- A load calculation done after the envelope is designed, not before.
- A clear plan for whether the existing system can carry the extra load or needs a separate zone or mini-split.
- Ducts sized and run inside the conditioned envelope, not through a hot attic if it can be avoided.
- A balance test at final so every room gets the airflow it needs.
When we quote an addition, the HVAC scope is in the written price before work starts, so there’s no surprise “the system needs upgrading” invoice mid-project.
The Old-Meets-New Seam: Where Moisture Gets In
The old-meets-new seam is where moisture problems almost always start on an addition, and the first failure point is the flashing and weather-barrier transition at the roof and wall junction. Water that gets behind the new cladding and can’t drain hits the point where the new wall ties into the existing structure. In Spring Valley, this is not a someday problem. Monsoon season dumps rain hard and fast, and a poorly flashed seam that held all spring can leak in one July afternoon.
Before drywall goes up, walk the seam yourself:
- Look at the flashing sequence. Each layer should shed water down and out, never trap it. Ask the contractor to show you how the roof flashing laps over the wall weather barrier.
- Check the weather barrier overlap. It runs from the existing house over the new wall, not the other way around, and the overlaps tape flat.
- Look for gaps at penetrations. Every vent, electrical box, or hose bib that passes through the new wall needs sealant and a drainable path behind it.
- Confirm the grading. The finished soil should slope away from the addition, not toward it. A 6-inch fall over the first 10 feet is the rule of thumb.
James Hardie cladding, which we build with, is engineered for desert climates and holds up to heat cycling, but it only performs if the drainage plane behind it is right. The cladding is the raincoat; the weather barrier is the layer that actually keeps water out.
How to Document a Contractor Dispute So It Holds Up
If a contractor dispute escalates, the records that hold up are dated, written, and photographs with timestamps – which is exactly what a Nevada contractor bond claim or a licensing board complaint runs on. The State Contractors Board hears complaints with evidence, not stories. Your job is to build that evidence file from day one, before anything goes wrong, so you’re never reconstructing it later.
Build the file as the project runs:
- Keep every written estimate, change order, and invoice. The written price on day one is your baseline for every later disagreement.
- Read every change order before you sign. A change order is where a fixed price turns into an open tab. Never sign one you don’t understand, and never let work proceed on a verbal “we’ll sort it out.”
- Photograph progress at every phase. Framing, rough-in, envelope, and final. Timestamped photos of a covered wall are the proof a dispute needs.
- Put complaints in writing, by email, to the contractor. “On March 4 I asked for X” holds up. “I told them” does not.
- Get the contractor’s license number and bond information before work starts. A bond claim depends on you knowing the correct licensee.
This is the whole reason behind a written guarantee stamped on every project: if it’s not done right, we make it right within the 365-Day Done Right Promise, and if any covered repair fails, we come back for a free second visit. That framework does more for a homeowner than any verbal promise ever could.
Design and Permit Problems You Can Prevent
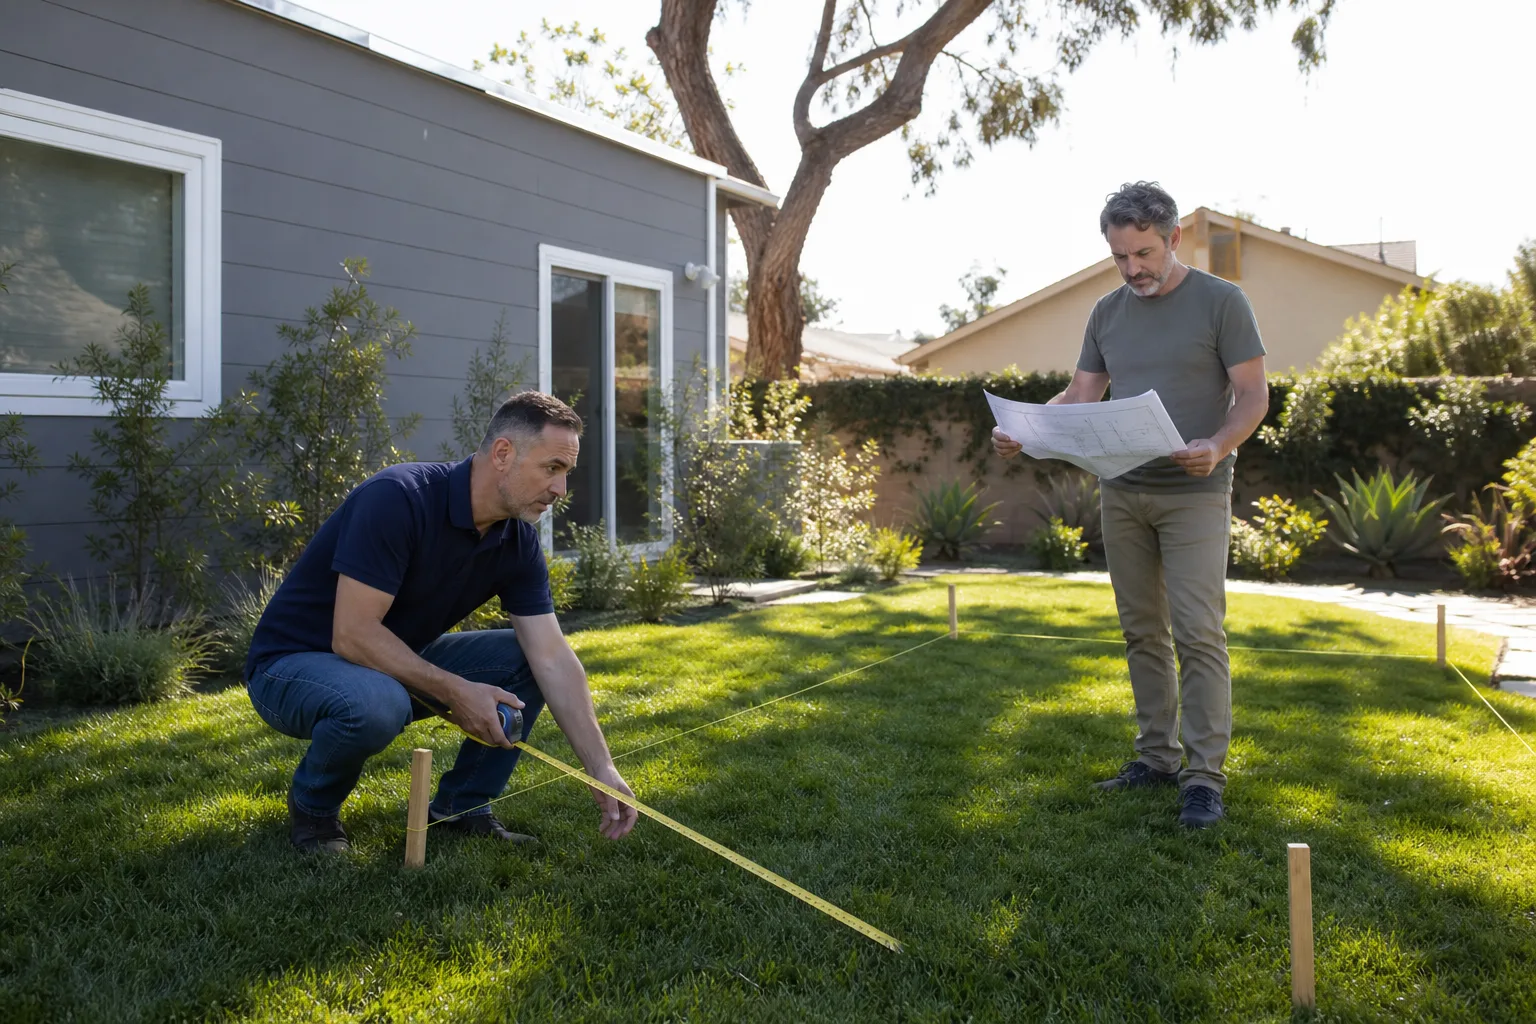
Design and permit problems look small on paper and cost weeks on site, and the pattern is consistent: the addition is designed before anyone confirms what the lot and zoning will allow. Spring Valley lots vary considerably in width, slope, and setback, so a design that fits one parcel can sit dead at submittal on the next. Setback is the required distance between your addition and the property line; on a narrow lot, that number alone can shrink your buildable footprint.
The fixes are all front-loaded:
- Pull a plot plan and confirm setbacks before you design. Know exactly how far you can build before the designer draws a line.
- Confirm the addition type up front. An ADU, a JADU (a junior ADU built within the existing house), and a standard room addition have different permit paths and different rules.
- Submit a complete package the first time. A missing site survey or a vague structural letter kicks the file back to the end of the queue.
- Plan the build around the HOA if you have one. Architectural review runs on its own clock and can sit in front of the county submittal.
We won’t promise a specific permit timeline because every project and jurisdiction differs, but we will put the permit scope and the price in writing before work starts, so nothing about the process is a guess on your side. If you’re exploring a prefab route, brands like Boxabl and Tuff Shed bring their own plan sets and foundation specs, which can reduce the design time but still need to meet local code. Start with a look at Benson ADU Builders Spring Valley home for how we structure a project from first call to final inspection.
What These Fixes Actually Cost
These are ballpark ranges for the Spring Valley market, and the point isn’t precision. It’s to show you the gap between a prevention cost and a remediation cost, so you can decide where to spend your attention.
- Geotechnical soils report before footings: typically a small slice of the project budget, versus $30,000 – $60,000 to remediate a failed footing after the fact.
- Cosmetic drywall crack repair: a few hundred dollars, versus $10,000 – $40,000 for a structural tie-in fix that opens walls and reconnects framing.
- Flashing and weather barrier correction before drywall: modest, versus $3,000 – $12,000 for water damage repair and re-cladding after a leak.
- Manual J load calculation and HVAC rebalance: a few hundred to low four figures, versus $6,000 – $15,000 to retrofit a separate system after a hot, uncomfortable first summer.
- Re-inspection after a failed Clark County inspection: a fee and a week or two of delays, versus far more when the delay cascades into trades backing up.
Call (833) 734-5583 for a written, line-item price on your addition before any work starts, so you know where every dollar sits.
Common Mistakes to Avoid
- Pouring footings without a soils report on a caliche lot. It’s the costliest shortcut in Spring Valley, and it shows up as settlement years later when your warranty and patience are both gone.
- Accepting a verbal estimate. A price that lives only in conversation shifts the moment scope changes. Our rule is a written price before any work starts, every time.
- Skipping the manual J load calculation. Contractors who size HVAC by guesswork hand you a bedroom that never cools and a compressor that dies early.
- Closing walls before the envelope is inspected. Once drywall hides the flashing and weather barrier, a monsoon leak is a demolition project instead of a repair.
- Signing change orders you don’t understand. Change orders are where a fixed price opens up, and in a dispute they’re the first documents anyone reads.
- Waiting until a wall crack is a foot long. Hairline monitoring costs nothing; structural remediation costs tens of thousands.
- Skipping HOA architectural review. A great plan that the HOA won’t approve stalls the whole build, and Spring Valley has plenty of HOAs with their own review clocks.
When to Call a Professional
Call a professional when a wall crack is wider than 1/8 inch or growing, when you see daylight through the seam between old and new construction, or when water shows up on an interior wall after a storm. Call when your addition fails a Clark County inspection and the contractor won’t put a correction plan in writing, or when the HVAC in a new room can’t keep up with a Spring Valley summer afternoon. Those are the moments where waiting makes the fix more expensive. Our technicians have up to 20 years of experience reading these signals – structural seams, caliche footing failures, envelope leaks – before they turn into rebuilds. Benson ADU Builders Spring Valley offers free estimates in Spring Valley – call (833) 734-5583.
Frequently Asked Questions
Remediating a foundation that failed because no soils test was done on a caliche-heavy lot typically runs $30,000 – $60,000, covering excavation, re-engineered footings, and re-pour. A geotechnical soils report before footings is a fraction of that, which is why we insist on it before the first pour. Call (833) 734-5583 for a free estimate on your addition.
A crack wider than 1/8 inch, a diagonal crack running from a corner, or a crack at the old-meets-new seam that lets air or daylight through is a structural concern, not cosmetic settling. Hairline vertical cracks under 1/16 inch in drywall are usually cosmetic and worth monitoring for 60 days. Call (833) 734-5583 for an evaluation.
You get a written correction report naming the code section and the specific deficiency, and you work from that list before re-inspection. Get the correction plan in writing, hold the next draw until re-inspection passes, and keep both the failed report and the passing result in your project file. If your contractor won’t put the plan in writing, call (833) 734-5583.
A price shouldn’t change after work starts unless you sign a change order for work you specifically requested. Our written price before any work starts is the baseline, and The Relay Visibility Guarantee backs it with a 365-Day Done Right Promise. Call (833) 734-5583 to schedule your free estimate.
Because the existing system was sized for the house before the addition existed, and almost every addition needs a manual J load recalculation to know whether the equipment can carry the new square footage. Skipping that step gives you a room that stays hot all summer. Call (833) 734-5583 and we’ll build the HVAC scope into a written price.
Keep every written estimate, change order, and invoice; take timestamped photos at every phase; put each complaint in writing by email; and confirm the contractor’s license number and bond before work starts. A Nevada contractor bond claim runs on dated records, not recollection. Call (833) 734-5583 if you’d rather start a project with a written guarantee than end one in a dispute.
The Bottom Line
Home addition problems almost always trace back to three moments: design, permit submittal, and the foundation pour – and the prevention cost is a fraction of the fix. In Spring Valley, that means a soils report on caliche lots, setbacks confirmed before anyone draws, a manual J calculation before HVAC is locked in, flashing inspected before drywall, and a written record from day one. Those aren’t upsells; they’re the difference between a few hundred dollars of prevention and tens of thousands in remediation. When you’re ready to plan an addition with a written price, a written guarantee, and a live person on the phone, that’s the moment to call.
Benson ADU Builders Spring Valley is part of the Relay Home Co. family, and every project runs on The Relay Visibility Guarantee: a written price before any work starts, background-checked and uniformed technicians, and the 365-Day Done Right Promise. We build with prefab and materials names you can research yourself – Mighty Buildings, Boxabl, Plant Prefab, Tuff Shed, James Hardie – so you’re choosing from options, not a take-it-or-leave-it product. We’re also your resource for a Room Addition Contractor in Spring Valley when the project is a single room rather than a full addition.
Call (833) 734-5583 to schedule your free estimate. A live person answers around the clock, and your price comes in writing before the first shovel turns.
Written by the team at Benson ADU Builders Spring Valley.